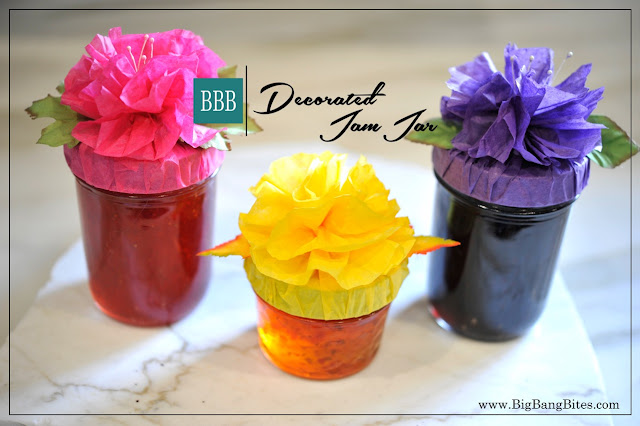
Since my freezers…yes plural…are usually jammed with frozen berries from my garden, I always make jam whenever I need party favors or gifts. Recently the grandkids turned four and we had lots of relatives join us for the celebration. I made boysenberry and strawberry jams as welcome gifts for everyone.
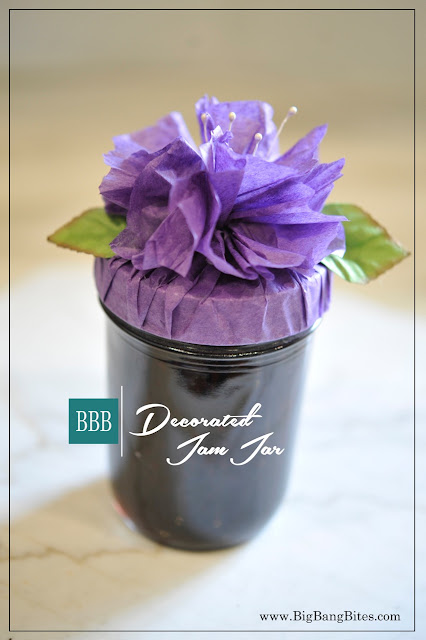
As usual, my jam jars are dressed for giveaways because they’re gifts. I’ve been doing this particular decoration for years and recipients always shower me with compliments because they’re always impressed. Thank you! They do look fancy, but it’s pretty simple to do.
You know all those tissue sheets that people pop into gift bags to pretty them up? Save them! That’s what I do, and I repurpose them into those beautiful flowers on my jam jars. It doesn’t matter that they are wrinkled because as you read below, they’re going to be scrunched to create the flower. So if you look in my cabinet, I have a bag full of tissue that will become delicate looking flowers.
The stamens can be bought at any craft store and they come in different colors. For these jars, I used light pink. The leaves can be found in craft stores too, but I’ve even discovered them at the dollar store…cheap, cheap. And they don’t have to be green leaves. During the winter or fall months, I often use gold and orange leaves to depict the season colors.
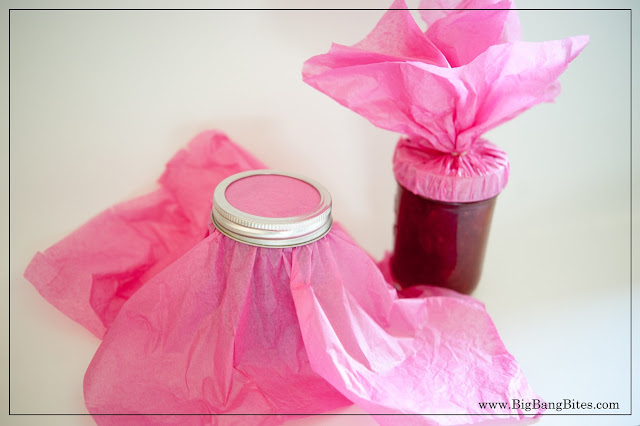
Remove the band from the jar, place the tissue over the jar. Screw the band back on to secure the tissue in place. Gather the tissue to the center of the cap and tie with string or twine. Be sure the gathers are smooth and the tissue is tight, but take care not to tear it.
Gather the tissue and cut it, leaving about a one and three-eighths inch tail. Open up the tissue to create the flower. You can re-trim the flower if it’s uneven because you don’t want it to be larger than the jam cap. So the flower lays open, use a tiny tab of your glue gun to attach the flower to cap in three places around the cap.
Add a few stamens to the center of the flower with your glue gun. Then secure two leaves on either side of the flower. Voila!
The jars shown are half pints, but I do the same flowers on pint jars. The flowers will be larger, so use two sheets of tissue.


No comments:
Post a Comment